
Most players choose a sensitivity by feel or copy a pro’s settings. Sensitivity Finder offers another option: you run the same set of drills at different sensitivities, and the map compares your results to find the one you shot best with. The map was made by Prank and appeared in the Workshop on October 12, 2026. More than 3,000 players subscribed in its first 3 days.
- What it does
- Finds your sensitivity by testing your aim at several settings
- Time
- About 10 minutes per test
- What to enter
- Your sensitivity and mouse DPI in chat, once
- Results
- Recommended sensitivity with an accuracy percentage, a range of near-equal values, eDPI, and centimeters per 360
- Languages
- English, Russian, Japanese, Chinese, and Korean
How to install and launch Sensitivity Finder
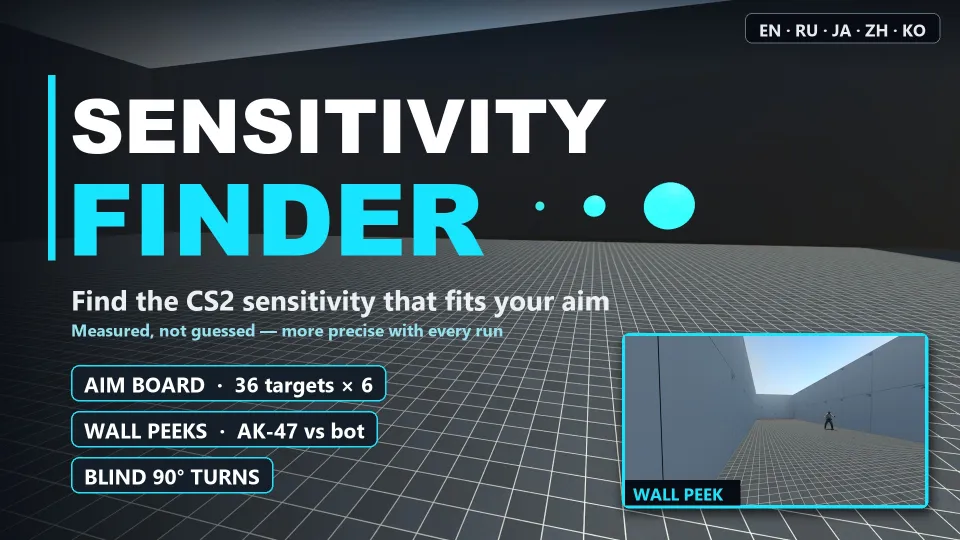
The map is about 14 MB. Subscribe to it in the Steam Workshop, wait for it to download, then select it in CS2 under Play > Workshop Maps. You can also launch it from the console with host_workshop_map 3818299372. The command downloads the latest version and starts the map. For more on launching Workshop maps and playing them with a friend, see our guide to the SCOPE.GG procedural map.
First, set your sensitivity, DPI, and m_yaw
The map can’t read your in-game or mouse settings, so enter them in chat once: your sensitivity with a command like !sens 1.66 and your mouse DPI with a command like !dpi 800. Replace the example numbers with your own. The map remembers them after that. Change the language with the buttons on the start screen or by entering !lang ru.
If you’ve changed m_yaw (the rotation per unit of mouse movement; the default is 0.022), tell the map by entering a command such as !yaw 0.0165. The creator gives this value for stretched 4:3. If you leave it out, the map will calculate your centimeters per 360 incorrectly.
 Guides
 GuideRead
How the test works
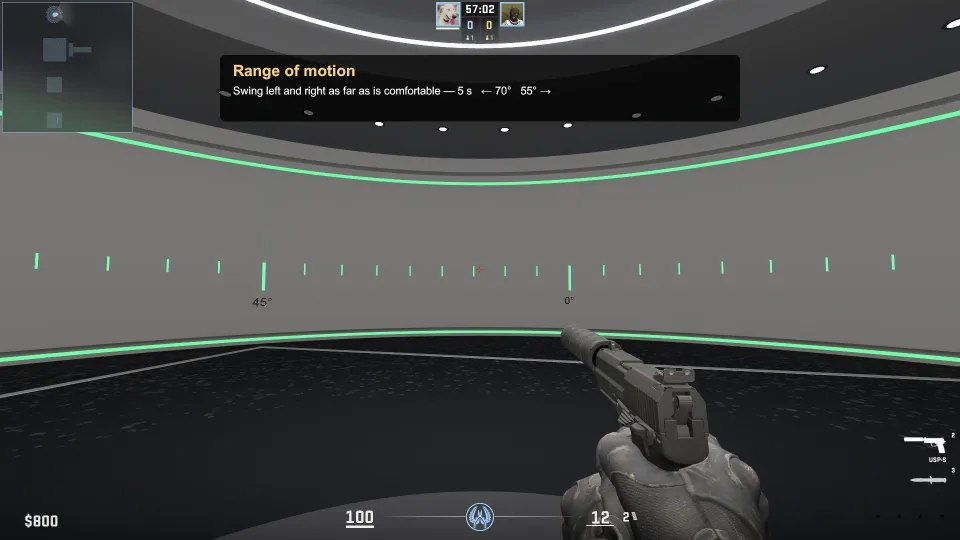
- Range of motionMove your crosshair as far left and right as feels comfortable. The room’s light lines and the wall scale turn green as you turn.
- Blind turnsClose your eyes, turn 90° to the right or left, then shoot to finish the turn. Do this 5 times in each direction. The map uses your results to find the sensitivity that matches your sense of how far you’ve turned.
- Six shooting blocksEach block uses a different sensitivity: your starting value, then that value ×1.35 and ÷1.35, followed by 2 values chosen based on your results or feel, and finally the starting value again. When the block asks you to change sensitivity, enter the new value in the console and shoot the NEXT button.
- ResultsYour recommended sensitivity and its accuracy percentage, the range of values within 3% of the best result, eDPI, and centimeters per 360.
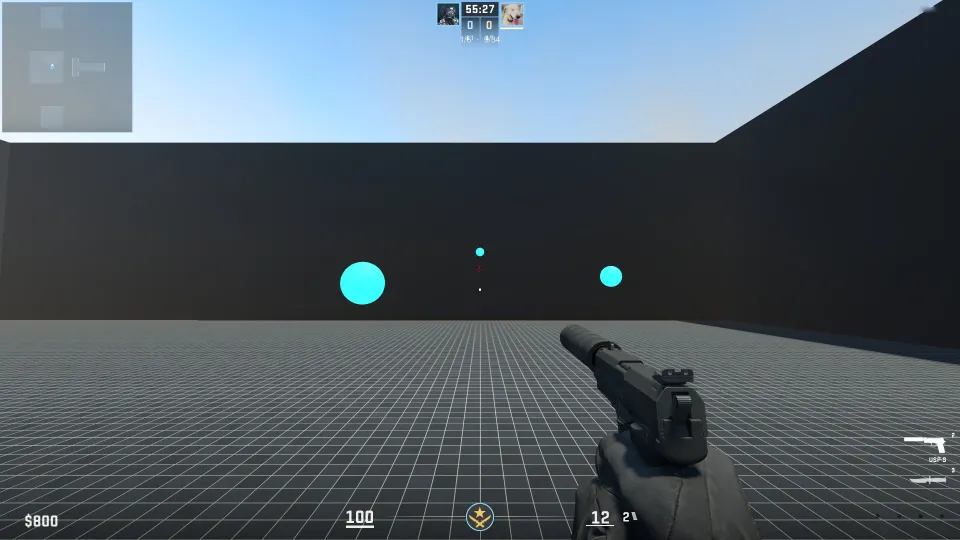
Each block has 6 warm-up targets and 36 scored targets on the wall. Targets appear one at a time or in groups of three, in new spots each time. Misses count too. Then you’ll do 4 AK-47 peeks against a bot. If your sensitivity hasn’t changed since your last run, the map reuses your previous range-of-motion and blind-turn results. To repeat those tests, enter !full.
How the map chooses a sensitivity
The main drill is the target wall. For each sensitivity, the map measures throughput using the ISO 9241-9 standard. This measure is used in studies of mice and other pointing devices, and accounts for both speed and accuracy. The timer starts with your first mouse movement and stops when you hit the target. Follow-up shots after a miss count toward your time, but reaction time doesn’t. That makes fast, careful aim easy to compare: what matters is how quickly you actually land the shot.
The map plots your tested sensitivities on a curve and picks its peak. More precise measurements carry more weight. The recommendation stays within the range you tested. The map won’t guess how you’d perform at a sensitivity you haven’t tried.
Wall peeks are timed from when the opponent becomes visible to your first hit, with each spot scored separately. They carry less weight than the target wall. The map doesn’t take your blind-turn results at face value. It checks them against your shooting: a sensitivity that feels right may not match how far your hand actually turns. Blocks 4 and 5 never repeat a sensitivity you’ve already tested. Block 6 repeats the first block to account for warming up or getting tired by the end of the test.

How to read your results
The map also shows every sensitivity that comes within 3% of the best result. The creator says performance is usually similar across a broad range of sensitivities. We’d read the results this way: if your current sensitivity falls within that range, there’s little reason to change it. The difference is within that same 3%.
Each new test makes the recommendation more accurate. The map combines your latest results with saved ones and gives less weight to results that don’t match. Each new run tests sensitivities around the current best estimate. To print a text summary you can copy and share, enter !result in the console. Use !clear to delete saved results.
Don’t change your sensitivity after just one test. Run it again on another day. If you get the same recommendation and range, you can have more confidence in the result.
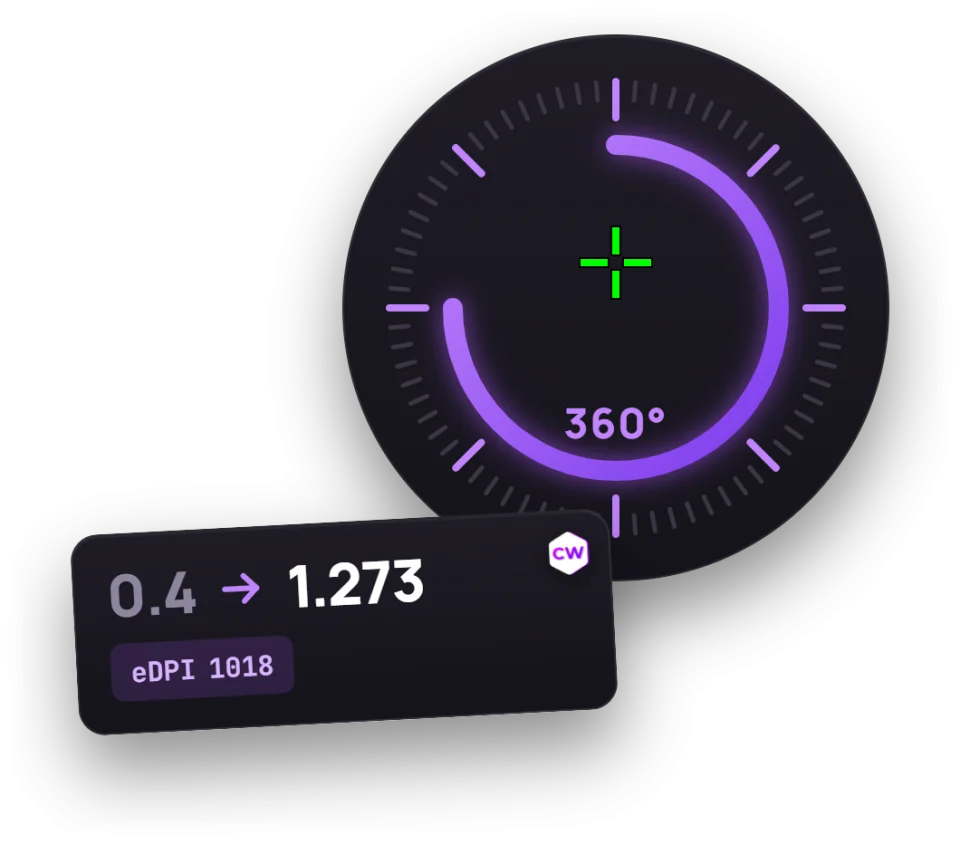
Your results include eDPI and centimeters per 360, which make it easier to compare sensitivities at different DPI settings. Our guide to pro players’ sensitivity and DPI explains how these values relate and what settings pros use. To find players on top teams with a similar sensitivity, enter your DPI and sensitivity in the tool below.
Other training modes on the same map: tracking and flicks
The start screen has 2 other modes that don’t count toward the test. In TRACKING, you don’t shoot. Just keep your crosshair on the yellow orb. Each round lasts 10 seconds. Your time on target appears on screen and on the scale below the wall, which runs from red to green. The map saves your average result for each sensitivity. It’s a handy way to try a new setting on a moving target.
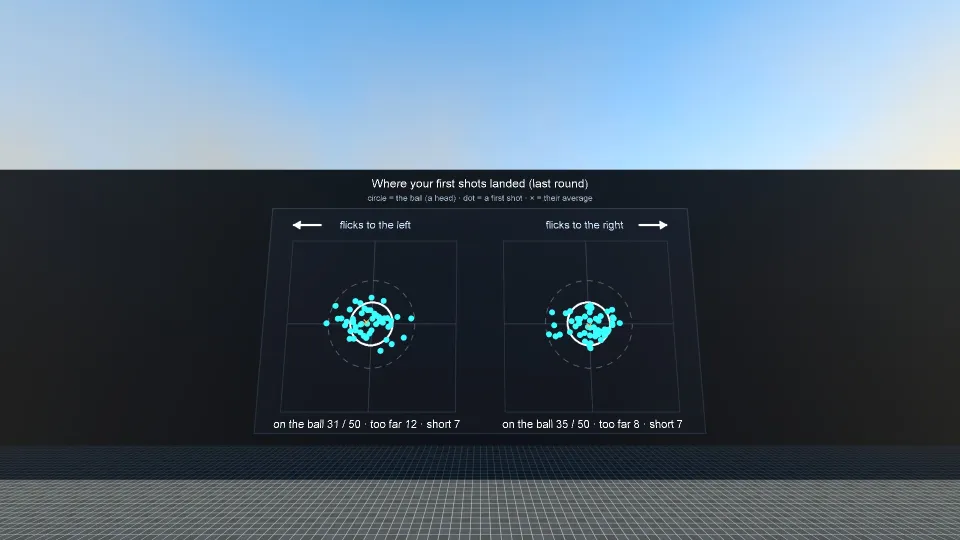
FLICK (to the left of NEXT; press START at the bottom left to begin) has 100 blue orbs the size of a CS2 head hitbox. A new orb appears as soon as you hit the previous one. Most flicks are short, with fewer medium and long ones, split evenly between left and right. At the end, the map shows your time, accuracy, first-shot hit rate, and how far your first shot overshot or undershot the orb, broken down by distance and direction. The left wall shows your last 5 rounds, including sensitivity, DPI, and m_yaw. The right wall shows where your first shots landed.
Map and console commands
| Chat command | What it does |
|---|---|
| !sens <value> | Your in-game sensitivity |
| !dpi <value> | Your mouse DPI |
| !yaw <value> | Your m_yaw, if it isn’t 0.022 |
| !lang en, ru, ja, zh or ko | Map language |
| !restart | Start over |
| !result | Print a text summary in the console |
| !full | Repeat the range-of-motion and blind-turn tests |
| !clear | Delete saved results |
- Your in-game sensitivity. The map asks you to change it between blocks.
- Rotation per unit of mouse movement
Frequently asked questions
What sensitivity should you use in CS2 if you don't have time for the test?
A good starting point is 800 eDPI: that's the median among pro players in our sample, meaning sensitivity 2 at 400 DPI or 1 at 800 DPI. Half of the pros play at 708 to 1000 eDPI. When you have 10 minutes, take the test: the map will show whether this value actually suits you.
How long does the sensitivity test take?
About 10 minutes. If you repeat the test at the same sensitivity, the map reuses your range-of-motion and blind-turn results from the previous run, so it takes less time.
Can the map detect my sensitivity and DPI?
No. The map can’t read your in-game or mouse settings. Enter them in chat with !sens and !dpi. If you’ve changed m_yaw, enter that too with !yaw.
Is Sensitivity Finder available in Russian?
Yes. Select Russian on the start screen or type !lang ru in chat.
Do tracking and flicks affect the recommendation?
No. Those are training modes. The recommendation is based only on the target wall and wall peeks in the six test blocks.